So you want to do Advent of Code in Rust but you have no idea how to start? Don’t worry, it’s not as intimidating as you think! I’ll share my setup and hopefully get you started quickly.
I was hoping to make a video out of this too, but OBS still doesn’t want to play nicely with Ubuntu in the year of our lord 2023. Maybe soon?
Rustup
If you haven’t installed Rust, or haven’t used it for a long time, it’s time to install it! The tool to manage your Rust installation is called rustup, and can be found at https://rustup.rs/. Simply run the install script as provided on the website and follow the wizard. rustup update should take care of updating your toolchain if you haven’t used it for a while. Tooling is installed locally, is easy to uninstall and has backwards compatibility baked in, so don’t fear!

Cargo
rustup will have installed various tools for you. The most important of those is cargo, which is the package manager for Rust. Think of this as the Rusty equivalent of npm or gradle. You can find valuable information in the Cargo Book at https://doc.rust-lang.org/cargo/.
We will use Cargo to create a new Rust project. In your favorite directory, run:
cargo new adventofcode2023
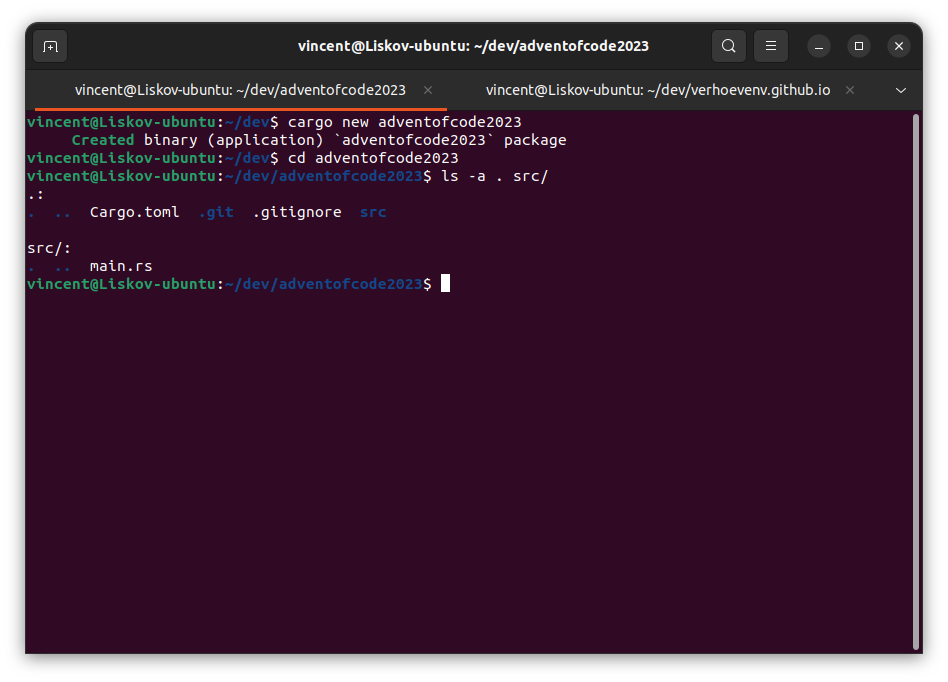
This will create a new directory with some configuration files and code, and it will even initialize a Git repository there with proper .gitignore.
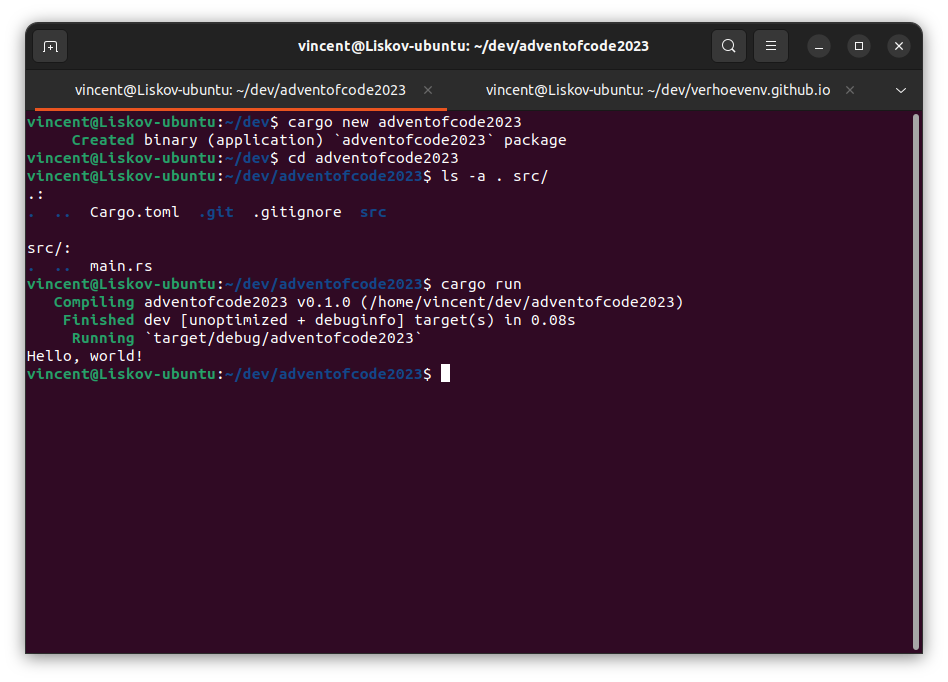
Compile and run the provided Hello World example with
cd adventofcode2023
cargo run
Prepare for multiple binaries
By default, a Cargo project builds one executable or one library. However, this isn’t ideally suited to Advent of Code, as each day we will want to run a different thing.
Cargo support building multiple binaries from one project, to do that we need to move our files into the src/bin directory. For our use case, each .rs file in the src/bin directory will compile to a separate executable, so I make standalone files named day1.rs, day2.rs etcetera. To disambiguate we will need to provide an extra argument to cargo run to specify which executable to run. It will work without the extra argument as long as you have one binary, but it won’t later on.
mkdir src/bin
mv src/main.rs src/bin/day1.rs
cargo run --bin day1
Once all this is working, I switch to Visual Studio Code to continue writing code. Any other IDE or text editor will do fine of course.
Writing a unit test
Welcome to Rust code! The main resource, and you will be referring to it often when learning Rust, is the Rust book at https://doc.rust-lang.org/stable/book/. You will need to spend some time reading and trying things out. The Rust compiler will help you along with errors but you can’t expect the tools to teach you the basics, and Rust has some… different basics from your default programming language. Note that there is a handy search button at the top of the Rust Book webpage!
Even though you’ll need to wrap your head around the language, some design techniques are transferrable! So let’s get to TDDing the first day of Advent of Code 2022.
In Rust, unit tests are added to the file they are testing. Open up your day1.rs file and add the following below your main function:
pub fn add(a: i32, b: i32) -> i32 {
    return -1;
}

#[cfg(test)]
mod tests {
    use super::*;

    #[test]
    fn test_add() {
        let result = add(2, 2);
        assert_eq!(result, 4);
    }
}
There is a bunch of syntax here that you can guess what it means. I want to point out two things however.
The first thing is that tests are encapsulated as a different module, which allows Rust to leave them out when compiling a production binary. The fact that this module is a test module is denoted with the #[cfg(test)] attribute macro above the module. The use super::* statement imports the declarations from the parent module into the test module, which allows the test to call the add function. You will generally not need to know about modules during Advent of Code, unless you want to start sharing code between your solutions. The Rust modules system is well-designed but might need some studying. I tend to just copy-past code during Advent of Code to make each binary stand-alone.
Another thing is the assert_eq! call. This is not a function, but a macro, kind of like #[cfg(test)] was. Function-like macros can be recognized by the ! after their name. You don’t need to know much about macros when starting, they are pretty much interchangeable with functions. The main feature is that they operate during compile time and can transform source code in a safe way. You will encounter more macros along the way, and maybe write your own macros at some point. assert_eq! is actually a macro that is available everywhere, not just in tests!
Run the test with cargo test. It should, of course, fail. I will leave it as an exercise to make this test pass.

The Rust book has further information on testing.
Use the indoc crate
Lets create a test for the first part of the 2022 day 1 problem! First, throw away all code you added before to the day1.rs, we will create new functions and tests. You should probably leave a main method to keep Cargo happy, though it should work without main too.
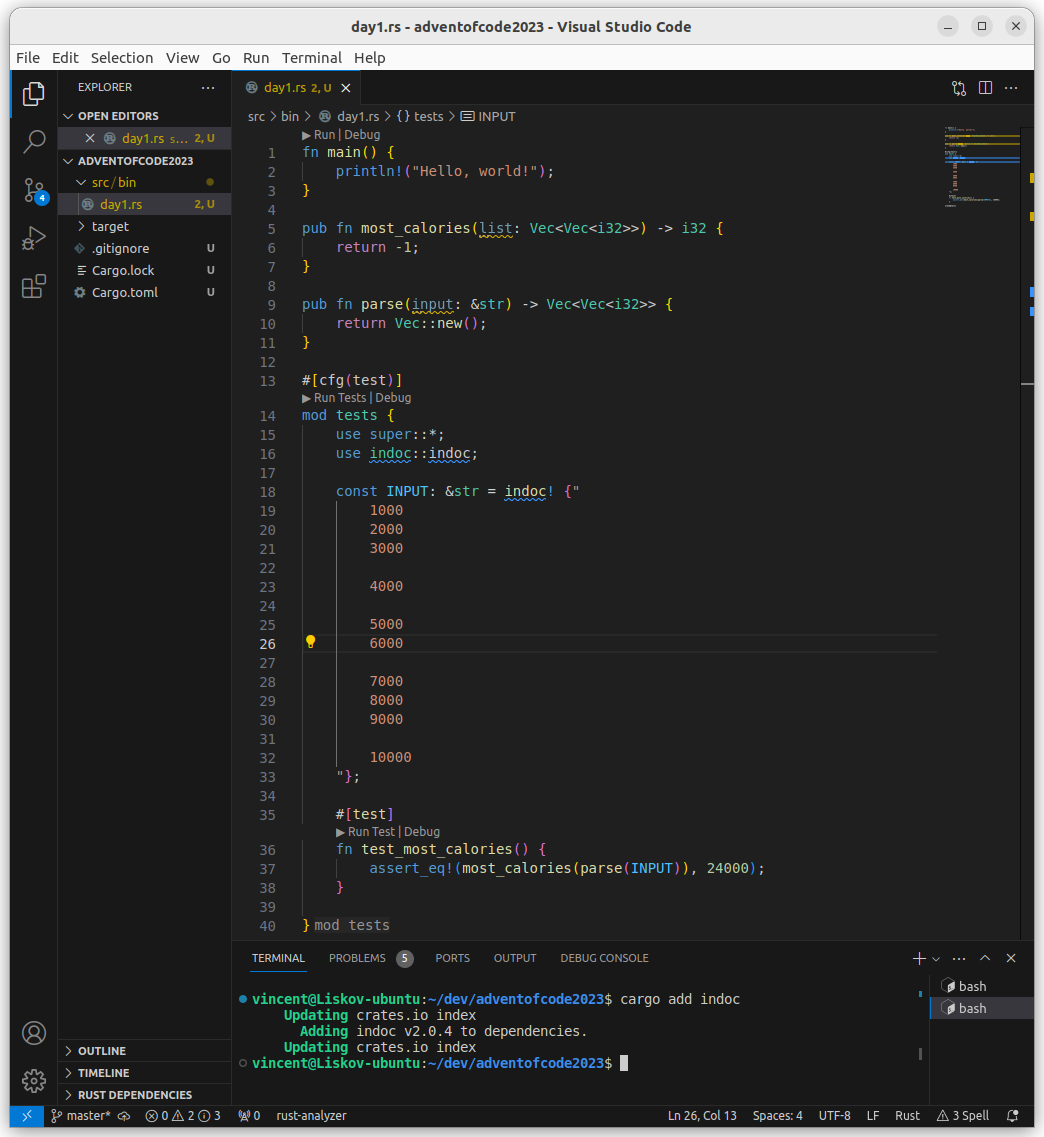
While in general I like small steps when doing TDD, for Advent of Code I tend to specify the entire problem at once as given on the website, and then add more tests as needed. Let’s do that now:
pub fn most_calories(list: Vec<Vec<i32>>) -> i32 {
    return -1;
}

pub fn parse(input: &str) -> Vec<Vec<i32>> {
    return Vec::new();
}

#[cfg(test)]
mod tests {
    use super::*;
    use indoc::indoc;

    const INPUT: &str = indoc! {"
        1000
        2000
        3000

        4000

        5000
        6000

        7000
        8000
        9000

        10000
    "};

    #[test]
    fn test_most_calories() {
        assert_eq!(most_calories(parse(INPUT)), 24000);
    }

}
I’ve defined two new functions, parse and most_calories, to implement. In general for me, Advent of Code problems fall in two steps: parse the input to a decent data structure, then solve it. The intermediate data structure here will be a Vec<Vec<i32>>, a list of lists of integers. The integers are 32-bit and signed, because we have to choose something and surely 4 bytes is enough for now.
In this test I’ve used our first external crate, the indoc crate. Crates are like libraries, or maybe more like npm packages in that they can also provide extra binaries and project configuration options. The indoc crate provides a nice little macro that strips the indentation from a string (at compile time since it’s a macro!), so we can leave the data nicely readable in our source code.
Add the crate to your project with
cargo add indoc
and then your code should compile and the test should be failing (cargo test). Cargo automatically updated your Cargo.toml and Cargo.lock files to ensure that your project builds the same everywhere.
While writing Rust code you might want to explore some other crates to help you along. The standard library of Rust is very good for general algorithmic work, but to keep the language lean it doesn’t come batteries included. For example, I would highly advise you look at the regex crate at some point.
Solving the first day
As a little walkthrough, I will first give some hints and then give my solutions. Click on each question to reveal the answer. At some point I will get this to render nicely, somehow my blog turned into legacy software and it’s impossible to make it do what I want..
-> How do I add things to a Vec?
vec.push(item)
-> For-loops?
for item in collection {
    // do things with item
}
-> How do I split by line ending?
input.lines()
-> How do I parse a string to an int?
Rust strings have a parse method-> Okay nice, the compiler hates me now and I don't know why 😭😭, please just give me the code to parse to an int, please?
let number: i32 = line.trim().parse().expect("Failed to parse input");
-> Can I do functional programming stuff?
Of course! Most collection types expose an iter() method, and Rust iterators have a bunch of niceties.-> Give me a full parse-function implementation please?
pub fn parse(input: &str) -> Vec<Vec<i32>> {
    let mut list: Vec<Vec<i32>> = Vec::new();
    let mut current_elf: Vec<i32> = Vec::new();
    for line in input.lines() {
        if line.is_empty() {
            list.push(current_elf);
            current_elf = Vec::new();
        } else {
            let number: i32 = line.trim().parse().expect("Failed to parse input");
            current_elf.push(number);
        }
    }

    list.push(current_elf);

    return list
}
-> Can I also just have an implementation for most-calories please?
pub fn most_calories(list: Vec<Vec<i32>>) -> i32 {
    return list.iter()
        .map(|l| l.iter().sum())
        .max()
        .unwrap()
}
Reading from stdin
Cool, your test passes now! How do we feed Rust our custom puzzle input?
While we could investigate reading from files, I tend to simply read puzzle input from stdin:
cargo run --bin day1 < input.txt
The main function to support this goes like
fn main() {
    let mut input = String::new();

    io::stdin()
        .read_to_string(&mut input)
        .expect("Failed to read input");


    let result = top_three_calories(parse(&input));
    println!("{}", result);
}
I tend to have this main method, or something very similar to it, in every file. Thinking about it, the generic version of this code could look like:
use std::fmt::Display;

fn main() {
    read_and_write(parse, top_three_calories);
}

fn read_and_write<T, S: Display>(parse: fn(&str) -> T, compute: fn(T) -> S ) {
    let mut input = String::new();

    io::stdin()
        .read_to_string(&mut input)
        .expect("Failed to read input");


    let result = compute(parse(&input));
    println!("{}", result);
}
What next?
This should get you started! Don’t try this all at once, but as you go through the days:
- I highly recommend looking at how to use enums and structs in Rust, this will allow you to do nice domain modelling for the problems.
- You will want to use the
#[derive]macro once you start working with data structures. - You will automatically run into the borrow checker and lifetimes. This is the main headache and the main strength of Rust and it might take you days to years to fully grasp it. Google the compiler errors, read the handbook, try things, read the handbook again. Remember: you can’t spell frustration without rust. It’s worth understand what is happening. Then again, for small data structures, don’t worry too much and just
#[derive(Debug, Copy, Clone, Hash, Eq, PartialEq)]all the things. - Reading up on traits and object-oriented programming in Rust can be useful.
- The
FromStrtrait is worth investigating to give you a place to put parsing methods (you could probably tighten the genericmainabove some more!). - We’ve run in dev mode so far, but
cargo build --releasewill create a more optimized version of your binary if you need more execution speed (haha rust go brrrrr). - The
vec!macro will be useful. Thedbg!,assert!andpanic!macros can be useful. - If you are braver than me, you can take a look at concurrency and/or debugging.
And there’s probably many more features to discover. Have fun!